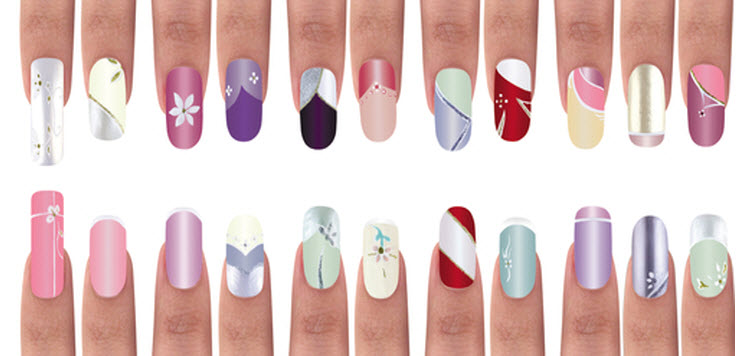
 Pointed Gel nails and nails with intricate and bold art designs are being seen on celebrities. Celebrities, who are not afraid to embrace their imaginative side, with the use of nail art.
These celebrities include Lady Gaga, Katy Perry, J.Lo and Beyonce. In fact, this trend is in the process of taking over the fashion industry. Anyone who attends nail school will learn the techniques to create amazing pieces of nail art. If you love creating art, nail design is a fantastic way to fulfill that desire. Even those who do not consider themselves artistically inclined will learn how to create beautiful nails in nail school. This is because; the complexity of your designs is up to you.
We are seeing brilliant neon colors, dazzling designs for special occasions, as well as, polka dots and stripes. The ‘Stiletto’ style nail has been worn by Lady Gaga, Lana Del Ray and Rhianna. This extremely unique nail design is meant to elongate the fingers.
One of the things you will learn in nail school is how to create beautiful gel nails with inlayed designs. The steps below outline this procedure.
Creating Gel Nails with an Inlayed Design
- Sanitize the hands and proceed with preparing the nails as you would before applying nail extensions.
- Apply a dehydrator to the natural nails.
- Put on the nail tips and shape them, blend the seam line to match the natural nails.
- Apply the E-air bonder to the natural nails.
- Apply a little bit of cuticle oil on the forms of the nails and gently rub it in.
- Apply black and red color gels onto the forms with a stroking technique, creating your patterns.
- Now, cure the gel underneath the UV lamp for two minutes.
- Apply light gel to be the base on the nails.
- Use tweezers to take the pre-made, gel patterns off the forms and apply them to the base of the nails, design your pattern.
- Cure everything underneath the UV lamp for two minutes.
- Build the nails by using clear light gel.
- Cure them for two minutes, underneath the UV lamp.
- File the nails down with a 150/150 grit file.
- Apply a sealer to each nail.
- Cure everything underneath the UV lamp for two to three minutes.
- Apply cuticle oil.
The sooner you start nail school, the faster you will be able to create artistic designs for your clients. Imagine, your work will be seen everywhere your clients go! When someone asks them, who created their beautiful nails, they will say you. In essence, they are a walking advertisement for you, your nail school education and your artistic design!
Comments on this entry are closed.